How-to: Creating Word Merge templates from Word Merge schemas
Introduction
Exact Word Merge offers a wide range of improvements over the mail merge functionality. It introduced the schema, which is used for creating Word Merge templates used in the merging process. This document will instruct the user on how to create a Word Merge template from a schema.
Description
This document is divided into the following sections:
Return to top
Requirements and prerequisites
To create Word Merge templates, users must ensure they have the following:
-
Product update 249 or higher of Exact Synergy Enterprise.
-
Microsoft Word 2010, 2013, 2016, or 365 Proplus (any version except Office Starter).
-
The XML Mapping task pane for Microsoft Word 2010, 2013, 2016, or 365 Proplus, and the Developer ribbon tab must be enabled. For more information, see How-to: Installing XML Mapping Task Pane for Microsoft Office.
-
Function right 897 – Maintain Word Merge or 898 – Allow to create Word Merge templates.
Return to top
How do I create a Word Merge template?
To create a Word Merge template, do the following:
a. Downloading a Word Merge schema
A Word Merge template consists of texts or sentences typed by a user and tags. Tags are parts which will be replaced by data from the database during the merging process. These tags must be inserted into a Word Merge template from a pre-defined Word Merge schema. This section will instruct the user on how to download a Word Merge schema.
-
In Exact Synergy Enterprise, go to Modules ? Documents ? Setup ? Word Merge ? Schemas.
-
On the Word Merge schema page, expand the General schema group.
-
Click the General schema.
-
On the Word merge: Schema – General page, click Download.
-
Save the WordMergeSchema.General.xml file.
Return to top
b. Adding a schema to Microsoft Word
This section will instruct the user on how to use the downloaded WordMergeSchema.General.xml file in Microsoft Word to create a Word Merge template document.
Adding a schema to Microsoft Word 2010
-
In Microsoft Word 2010, click the Developer ribbon.
-
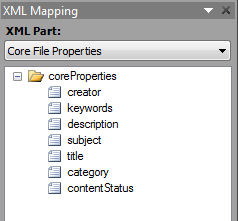
Click XML Mapping. The XML Mapping task pane will be displayed, as shown in the following:
-
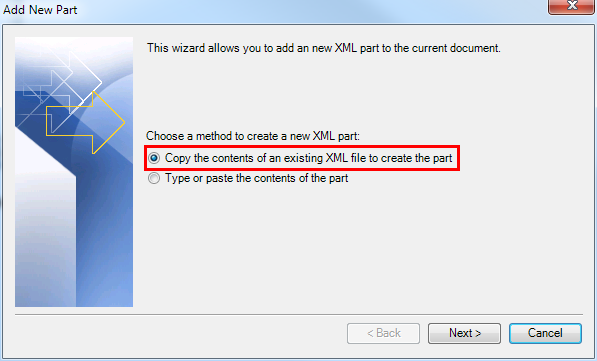
Select the (Add New Part…) option at the XML Part field. The Add New Part screen will be displayed, as shown in the following:
-
Select Copy the contents of an existing XML file to create the part.
-
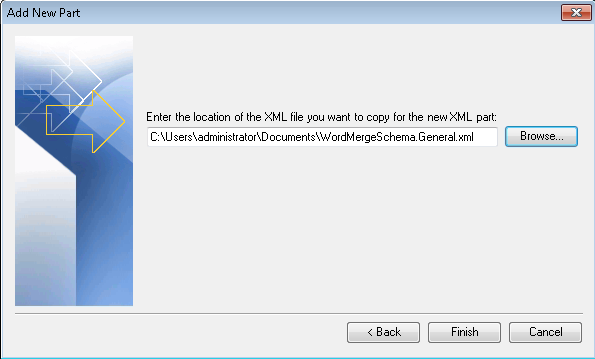
Click Next and the following screen will be displayed:
-
Click Browse to locate the saved WordMergeSchema.General.xml file.
-
Click Finish.
The schema will be selected and displayed in the XML Mapping task pane, as displayed in the following:
Return to top
Adding a schema to Microsoft Word 2013, 2016, or 365 Proplus
-
In Microsoft Word 2013, 2016, or 365 Proplus, click the Developer ribbon.
-
Click XML Mapping. The XML Mapping task pane will be displayed, as shown in the following:
-
Select the (Add New Part…) option at the Custom XML Part field. The Open dialog box will be displayed.
-
Locate the saved WordMergeSchema.General.xml file.
-
Click Open.
-
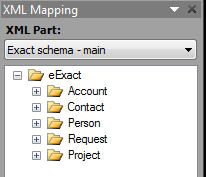
Select Exact schema – main at Custom XML Part.
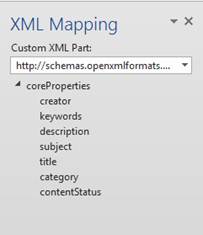
The schema will be selected and displayed in the XML Mapping task pane, as displayed in the following:

Return to top
c. Creating a Word Merge template document
After the schema has been successfully added to Microsoft Word, a Word Merge template document can now be created. The following procedures will be based on creating a Word Merge template document for the Account module.
-
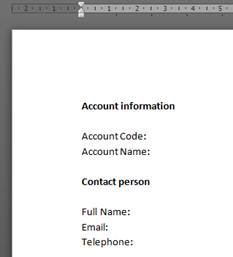
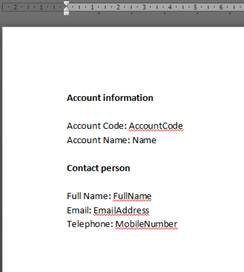
Type some text on a Microsoft Word document, as displayed in the following example:
-
Expand the Account folder in the XML Mapping task pane, as displayed in the following:
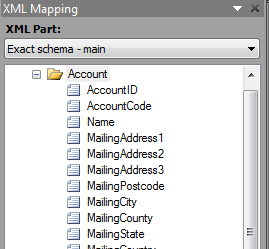
Figure 1: The XML Mapping task pane in Microsoft Word 2010.
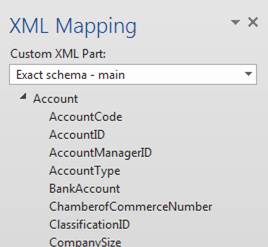
Figure 2: The XML Mapping task pane in Microsoft Word 2013, 2016, or 365 Proplus.
-
Drag and drop the following tags to the related content under the Account Information section on the Microsoft Word document:
-
AccountCode to Account Code.
-
Name to Account Name.
The tags have now been added to Account Information section on the Microsoft Word document.
-
From the MainContactPerson folder in the XML Mapping task pane, drag and drop the following tags to the related content under the Contact person section on the Microsoft Word document:
-
Fullname to Full Name.
-
EmailAddress to Email.
-
MobileNumber to Telephone.
The result should be as displayed in the following example:
-
Save the Microsoft Word document with a Word Merge template name, for example, “MyAccountTemplate.docx”.
Note:
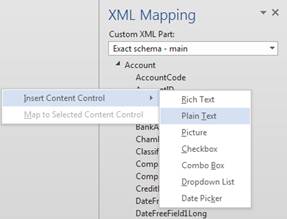
In Microsoft Word 2013, 2016, or 365 Proplus, the drag-and-drop functionality is not available. You can right-click the tag you want to insert, select Insert Content Control, and then Plain Text, as shown in the following:
Return to top
d. Adding pictures to a Word Merge template document
-
In a new Microsoft Word document, click the position where you want to insert the image.
-
In the XML Mapping task pane, expand the selected folder and right click the Picture tag.
-
Select Picture from the Insert content control menu.
An image frame is inserted into the document. Adjust the frame size according to your preferences.
-
Save the Microsoft Word document with a Word Merge template name, for example, “MyAccountTemplate.docx”.
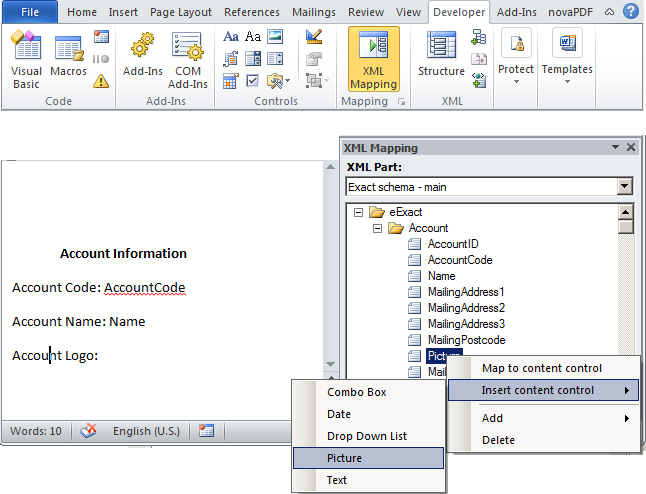
Figure 3: The above shows how pictures can be added to a Word Merge template document in Microsoft Word 2010.
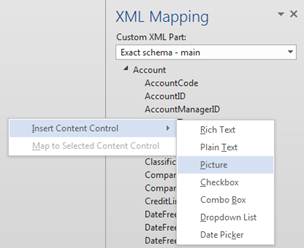
Figure 4: The above shows how pictures can be added to a Word Merge template document in Microsoft Word 2013, 2016, or 365 Proplus.
Note:
You may also add pictures to existing Word Merge template documents. Open the existing Word Merge template document in Microsoft Word. Follow steps 2 to 3, and then click Save.
Return to top
e. Uploading a Word Merge template document to Exact Synergy Enterprise
The created Word Merge template document must be uploaded to Exact Synergy Enterprise to create a Word Merge template. This section will instruct the user on how to do this. For more information, see Creating and modifying Word Merge templates.
-
In Exact Synergy Enterprise, go to Modules ? Documents ? Setup ? Word Merge ? Templates.
-
On the Word Merge template page, click Template: New.
-
Define the relevant fields. For more information, see Creating and modifying Word Merge templates.
-
At the Template (MS Word) field, click Browse.
-
Locate and select the Word Merge template document which has been created earlier.
-
Click Save.
Note:
All fields marked with the “!” icon are mandatory.
Ensure the relevant template group is selected at the Group field. For example, if the Word Merge template document is for the Account module, select the Account template group. For more information, see Creating and modifying Word Merge template groups.
Return to top
Related documents
| Main Category: |
Support Product Know How |
Document Type: |
Online help main |
| Category: |
On-line help files |
Security level: |
All - 0 |
| Sub category: |
Details |
Document ID: |
23.595.146 |
| Assortment: |
Exact Synergy Enterprise
|
Date: |
06-02-2018 |
| Release: |
|
Attachment: |
|
| Disclaimer |