How-to: Restoring database backups
Menu paths
- Settings ➔ System ➔ Backup/Restore
- Accountancy ➔ Companies ➔ Backup/Restore
Introduction
Note: The Microsoft Azure SQL Database feature is only available for the controlled release participants.
Once you have created the database backups,
you can restore and use the backups in Exact Globe+.
What version are you using?
The information in this document is applicable
to product update 422 and higher. If you have versions lower than this, certain
features explained here will not be applicable.
Description
- Click Settings on the left menu, click System, and then click Backup/Restore. The following screen will be displayed:
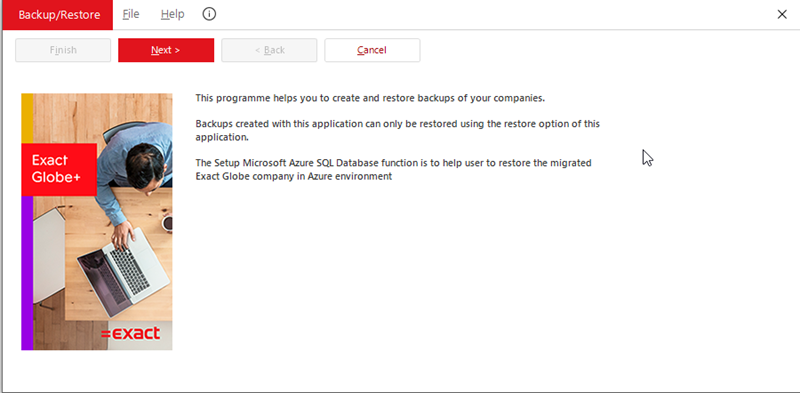
- Click Next. The following screen will be displayed:
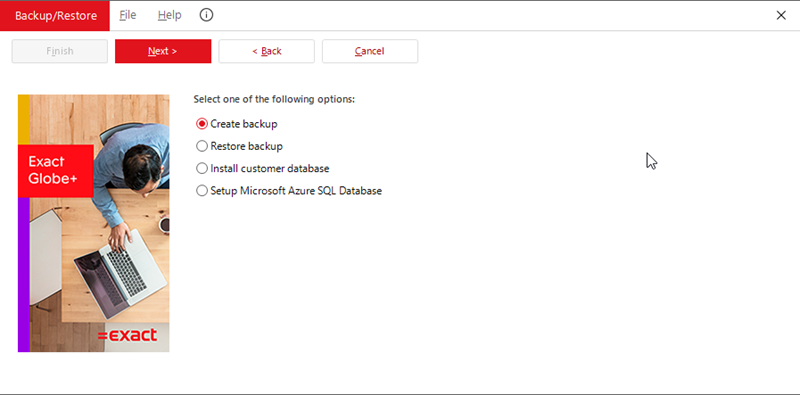
- Select the Restore backup option and then click Next.
The message “Please note that Microsoft SQL Server 2005 is no longer supported
by Exact Globe Next product update 413 or higher. Directly after finishing the
Backup/Restore/Copy company operation you need to upgrade the SQL Server to
Microsoft SQL Server 2008 or higher to be able to start using Exact Globe Next”
will be displayed. Click the Don’t show this screen again check box if
you do not want to see this message anymore and then click OK. The
following screen will be displayed:
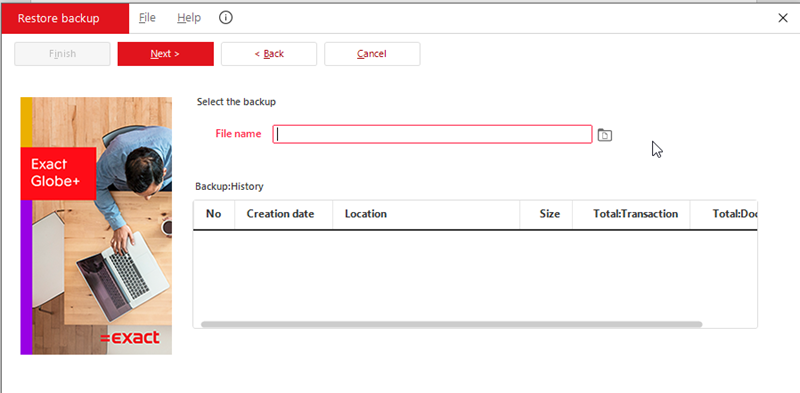
- Type the location and the name of the database backup file that you
want to restore at File name or click
 to select the database backup file
to be restored. This is mandatory. Click Next. The following screen will
be displayed:
to select the database backup file
to be restored. This is mandatory. Click Next. The following screen will
be displayed:
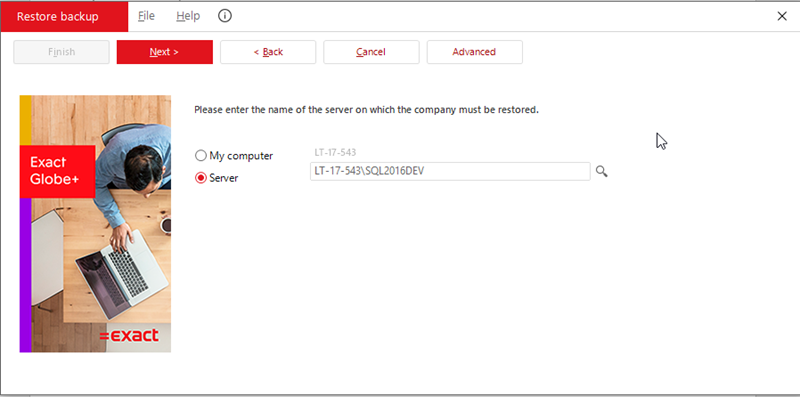
- Define the following fields:
- My computer - Select this option to restore the database backup on your computer.
Your computer name will be displayed.
- Server - Select
this option to restore the database backup on another server, and type or
select the server on which the database backup will be restored.
If you click Advanced,
additional fields (as described in the following) will be displayed:
- Windows authentication - Select this check box to use your network login name for the
selected server.
- Login name - Type another login name to restore the database backup in the
selected server if you did not select the Windows authentication check
box.
- Password - Type
a password for the login name defined at Login name.
Note: The Login name and Password
fields will be disabled if you have selected the Windows authentication
check box.
- Click Next. The following screen will be
displayed if the Server option is selected:
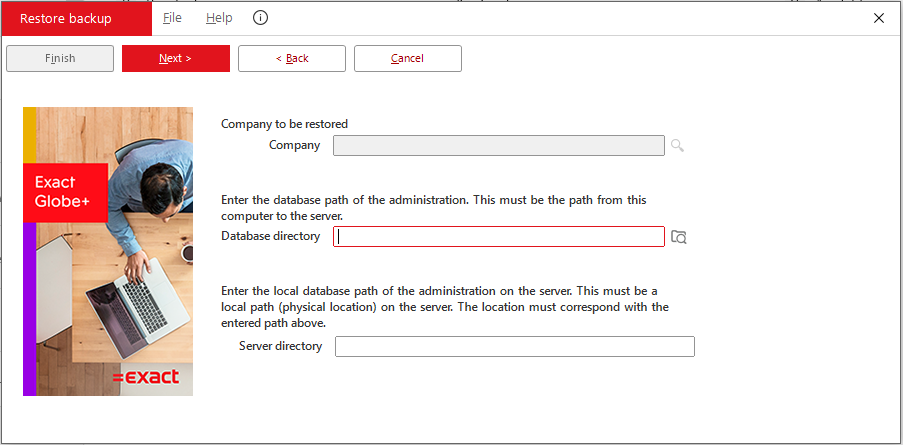
- Company -
This displays the company number of the selected backup file to be restored.
- Database directory - Type the directory of the folder where the database backup will be
restored on the selected server or click
 to browse for the folder.
- Server directory - Type the directory of the SQL server where the database backup will be restored on. Hence, the server directory must correspond with the selected database directory.
- Click Next. The following screen will be
displayed:
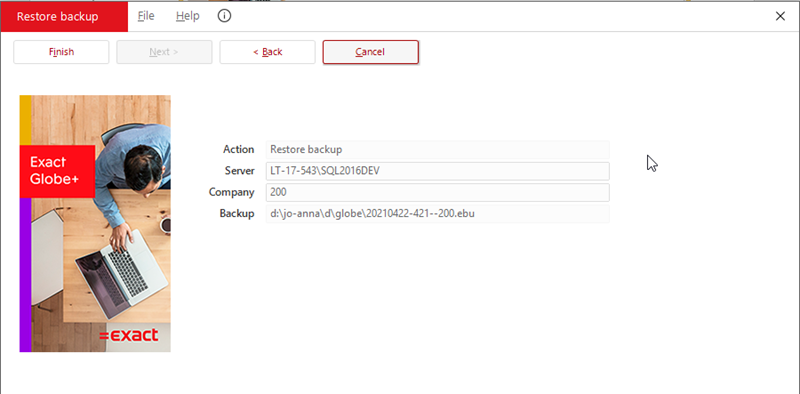
- Click Finish.
Related document
| Main Category: |
Attachments & notes |
Document Type: |
Online help main |
| Category: |
|
Security level: |
All - 0 |
| Sub category: |
|
Document ID: |
17.809.144 |
| Assortment: |
Exact Globe+
|
Date: |
26-09-2022 |
| Release: |
|
Attachment: |
|
| Disclaimer |